Wednesday, November 13, 2019

Peek-a-boo baby boy album

Hello crafty folks!
Today I would like to share with you guys my baby boy album that measures 7x9x4.5 inches. It comes with a box that is perfect for gifting.
This album has interactive pages and each is unique and different. It can hold around 50 pictures and also has space for journaling. It also contains lots of tags and cards which you can use with the corresponding pictures of the baby.


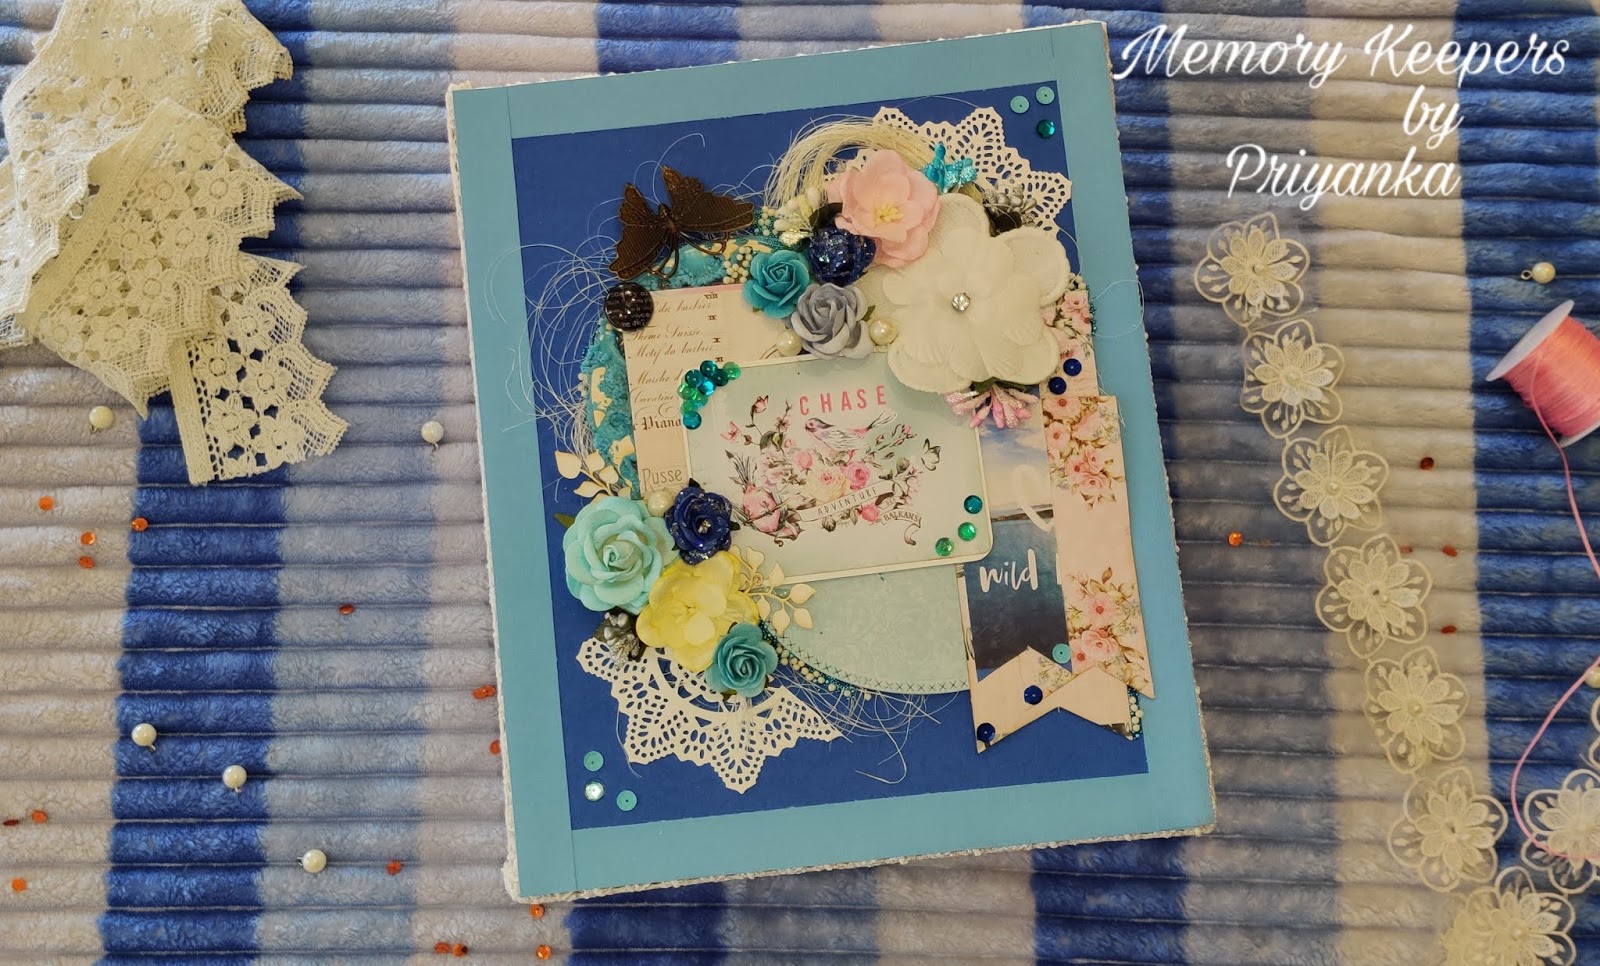
I have used peek-a-boo collection from Pebbles. It's warm color combination of mustards ,blues, beige and greens make it an unusual color  palette for boys which you generally don't see in other paper collections. I am sure you will love it as I too loved working with these papers.
Have a close look on each of the pages inside.


It can be a perfect gift for a newborn baby or on first birthday. Can be made for a baby girl too.
For the video walkthrough of the album please visit my you tube channel-
https://youtu.be/LGwQ3rSuOLg

If you like my creation do like my channel and subscribe to it for more such amazing projects.
For orders and enquires drop a comment, will get back to you.

Thanks

Wednesday, November 6, 2019

Summery Santorini scrapbook album

Hello crafty folks!
Today I am here to share with you my latest creation. It's a 9x7 scrapbook album with a huge spine of 4.5 inches. Its can an interactive album with unique pages and can hold more than 50 photos. It also has lots of space for journaling. It comes with a box to hold the album. I so enjoyed making this one.


The summery colors of blue and pinks will surely steal your heart away.
I have used Prima's Santorini paper pack. It's a beautiful paper collection which captures the beauty of Santorini itself.

Each page is unique and interactive. They have lots of flaps and pockets filled with photo Matt's, tags and journaling cards.
The hinges are one inch wide so you have lots of room to move your pages and move around through the album.


It can be a unique and an elegant gift for someone special.
I hope you guys like what I have created. For a walkthrough of the album please visit my you tube channel linked below-

I am entering this project for the following challenge-

Thanks for watching!.
Do share your comments and if you like it please subscribe to my you tube channel.
Also like my Facebook page linked below-


Will be back soon with another project.
Cheers
Priyanka


Thursday, August 15, 2019

Mini shaker album

Hello friends!
Today I have a fun project to share with you guys. It's a 6x6 mini shaker album. It consists of 6 pages which are adorned with shaker windows and beautiful flowers with messages.  One can put pictures  on the back of the shaker pages. It's a fun gift for someone's birthday or any special occasion.
The sound of the shaker element is in itself so much fun. I thoroughly enjoyed making this one. It's in no particular theme but can be made into one.
For this one I have used beautiful paper collection-Floral symphony by Dress my Craft, sequins by Dress my craft and charms and tassels by dress my craft.
Here are some close pictures of the album.


I hope you guys like my project.
Stay tuned for more fun projects.
I am entering this project for the following challenges-
http://blog.prikaallaboutcrafts.com/2019/08/blog-challenge-august-2019-make-it-bloom.html?m=1
Thanks
Memory keepers by priyanka

Sunday, August 4, 2019

Romantic album

Hello friends!
After a long time I am sharing my latest creation with you guys. Its a romantic album that is made of Cafe Romanza paper collection from Bob n Betty. It measures 6.5x8x3.75 inches and has a total of 10 pages. There is  lots of space for putting pictures and journaling. I have made lots of pockets and flaps.
Here are some snaps of the album:


For the video walkthrough of my album please visit my you tube channel.
The link is shared below-
I hope you guys like my project.  Do share your valuable feedback.
I am entering this project in the following challenges-
Stay tuned for more projects.
Happy crafting!
Memory Keepers by Priyanka


Tuesday, April 16, 2019

Shadow frames made with paper

Hello crafty friends!
Have a look at these super cute shadow frames which are really simple to make. You can make it from scratch or use the ready to use templates from icraft or prika.
I have used the icraft templates and made these for my swap group.
Will share the links below.


Check out the video for an explanatory summary of these frames..

Products used - 
Icraft ready to use shadow frame templates
Immix gesso
Crackle paint from itsy bitsy
Chalk paint from icraft
Embellishments from dress my craft

Stay tuned for more creations.  I hope you like them. 
To join my swap group please visit this link - 

I am entering this project for the following challenges -
https://expressionscraft.blogspot.com/2019/04/challenge11-flowers-frames.html


Thank you for watching!!
Priyanka
Memory keepers

Monday, April 15, 2019

Surprise Explosion Box

 Hello crafters!
Art must take reality by surprise!
Life is so full of unpredictable beauty and strange surprises.
Not knowing is the greatest life motivator. Its in those small little things when you look forward to what life has in store for you - like when a girl gets married, when she becomes a mother, when she goes to a new job, when one realises his/her passion and when life clicks into place.
Look within, explore your creativity and surprise yourself with what you can do. Craft has been that for me - a sweet surprise. I didn't know what I was capable of. I am yet to explore more of my craft being. With this inspiration I have made this surprise explosion box. Its not what an explosion box looks like usually. It is like a mystery where lies my creativity.


Check out my video to explore this box full of surprises.
Thank you all for watching. I have tried to makings different and interesting. Do let me know how you like it.
The supplies used to make this project are - 

1. Dress my craft--in my heart paper collection kit
2. Chippies from mudra
3. Charms from dress my craft
4. Mulberry roses
5. Pollens and pearls from dress my craft
6. Pink satin twine from dress my craft
7. Laces and trims from darice
8. Geometric punch from Martha Stewart
9. Black cardstock from dress my craft
10. Embellishment stickers from eno greetings
11. Black & white embossing powder from ranger

I am entering this project for the following challenges -
http://blog.prikaallaboutcrafts.com/2019/04/the-crafty-superstar-2019.html?m=1
https://handmadelovebh.blogspot.com/2019/04/craft-chaos-2019.html?m=1

#handmade #explosionbox #surpriseexplosionbox #iridescentsecrets #love #valentinesdaygifts #anniversarygifts

Tissue Box using mixed media

Hello crafty people!
I am Priyanka Gupta from ‘Memory Keepers by Priyanka’. Today I want to share with you guys a tissue holder which I made using mixed-media techniques.I made this for Prika- all about crafts.
If you want to read about my story featured at prika platform ,please visit their blog-
http://blog.prikaallaboutcrafts.com/2019/03/craft-enthusiast-priyanka-gupta.html
This is my third attempt at mixed media and hope you guys like it. Here’s a step by step process on how I made it.

List of supplies used-
MDF tissue holder
Black Gesso
Honey comb Stencil
Charcoal texture paste from CrafTangles
Chipboard corners and flower elements
Metal embellishments (use whatever you have)
Resin angels
Metallic paints from expression crafts (raw umber, Tuscan red, Hunter green, bronze moon)
Alcohol ink(splash blue gold) from little birdie
Metallic wax- fire ruby from crafTangles
Rose Paper flowers
Deco stones from immix
Soft gel Medium from immix
Process-
Step 1- First I covered the MDF base from all sides with heavy black gesso and kept aside for drying


Step 2- Then I pasted the chipboard corners and flower elements as shown in the picture and covered them with gesso. Kept aside for drying.


Step 3- Then I took the honeycomb stencil and applied the charcoal texture paste through it with a palette knife on left over plain surface of the mdf. Let it dry.


Step 4- Then I dabbed the corners and the chipboard element on top with metallic paints- red and gold. Pasted all the metal embellishments and chipboard elements and paper roses and deco stones on top with the help of soft gel medium from immix.


Step 5- Then I pasted some honeycomb chipboard pieces as shown in the picture for a 3D look and covered everything with black gesso(even the top where we have put all the metal embellishments)

Step 6-  Then I sprayed the gold blue splash(alcohol ink) on top and painted some elements with the metallic paint(hunter green) to highlight them.

Step 7- Then I brushed the base with raw umber metallic paint and also on the sides.


Step 8- Then I brushed the Tuscan red metallic paint on the flowers and clock chipboard.

Step 9- Then I brushed the remaining flowers with bronze moon metallic paint.

Step 10- Then I used the red metallic wax and brushed the chipboard corners, angels, honey comb chipboard, flowers, clock and deco stones with my fingers to highlight them and give it a glossy look.


That’s all for today! Thanks for reading. I hope you guys liked what I made. I hope you guys get some inspiration from it. Please do let me know.
Happy Crafting!!

Memory Keepers by Priyanka